

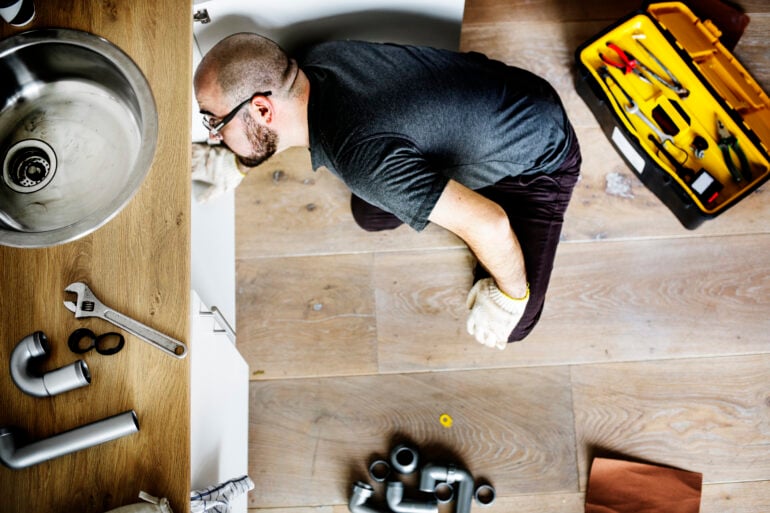
Most of us rarely think about the pipes hidden behind our walls or beneath our floors until something goes wrong. Waking up to an icy shower, a flooded basement, or a sink that refuses to drain can easily ruin your weekend. While complex repairs definitely require a professional plumbing service, you don’t have to be a licensed expert to handle basic maintenance.
A little bit of proactive upkeep goes a long way in preventing stressful emergencies and keeping your system in great shape. By taking a few hours out of your year to perform some simple DIY tasks, you can extend the life of your fixtures and save yourself a ton of money down the road. Let’s look at a few easy ways to maintain your home’s plumbing on your own.
Protect Your Drains
Clogged drains are arguably the most common household plumbing headache. The good news is they’re also the easiest to prevent. Start by being mindful of what goes down your kitchen sink. Coffee grounds, grease, and fibrous foods like celery or potato peels should always go in the trash or compost bin. When hot grease cools inside your pipes, it solidifies into a stubborn block that traps other debris, leading to a nasty clog.
In the bathroom, invest in cheap plastic or metal hair catchers for your shower and tub drains. Pulling a clump of hair off a drain cover takes two seconds, but extracting it from deep inside the pipe is a frustrating chore. If your drains do start to slow down, skip the harsh chemical cleaners, as they can eat away at older pipes over time. Instead, pour a cup of baking soda followed by a cup of white vinegar down the drain, let it fizz for fifteen minutes, and flush it out with boiling water.
Show Your Water Heater Some Love
Your water heater works constantly to provide your household with warm water, but it needs a little attention to keep running efficiently. Over time, minerals and sediment naturally settle at the bottom of the tank. If left alone, this sludge forces the unit to work harder to heat the water, driving up your energy bills and shortening the lifespan of the appliance.
You can easily combat this by flushing the tank once a year. Simply turn off the power or gas supply to the unit, attach a standard garden hose to the drain valve near the bottom, and route the hose to a floor drain or out into your driveway. Open the valve and let a few gallons flow out until the water runs completely clear. Close the valve, detach the hose, and turn the power back on. It’s a quick task that adds years to your water heater’s life.
Keep Your Shut-Off Valves Moving
Imagine a pipe bursting under your kitchen sink. Your first instinct is to reach for the shut-off valve beneath the cabinet to stop the flooding. But if that valve hasn’t been turned in a decade, there’s a good chance it’s stuck in place. Hard water deposits and lack of use cause these metal components to seize up, leaving you helpless during a real emergency.
To prevent this, make it a habit to exercise your shut-off valves every six months. Go around the house and gently turn the valves behind your toilets, under your sinks, and near your washing machine. Just give them a quick twist to turn the water off and then right back on again. This simple motion breaks up any mineral buildup and ensures the handles will turn smoothly when you actually need them. Don’t forget to test your home’s main water shut-off valve as well.
Hunt Down Hidden Leaks
A leak doesn’t always look like a geyser shooting across the room. Often, it’s a silent, slow drip hidden out of sight that rots your cabinets or spikes your monthly utility bill. Take a flashlight and inspect the areas under your kitchen and bathroom sinks once a month. Look for water stains, warped wood, or a musty smell. Even a tiny bead of water on a supply line connection is a sign that something needs tightening or replacing.
Toilets are another common culprit for silent leaks. If the rubber flapper inside the tank deteriorates, water constantly seeps into the bowl. To test yours, drop a few drops of food coloring into the upper tank and wait thirty minutes without flushing. If the colored water makes its way into the bowl, you have a worn-out flapper. Fortunately, replacing a flapper is a cheap and easy fix that only takes a few minutes.
Take Care of Your Garbage Disposal
Your garbage disposal is a tough appliance, but it still needs regular cleaning to prevent foul odors and mechanical jams. If you notice a funky smell wafting up from the kitchen sink, it’s likely due to food particles clinging to the disposal blades.
You can naturally clean and deodorize the unit by tossing a few ice cubes and some lemon peels down the drain. Run the cold water and turn the disposal on. The hard ice chips away stuck-on grime, while the citrus peels leave everything smelling fresh. To keep the moving parts lubricated and happy, make sure you only run cold water while the disposal is operating. Hot water can melt fats and let them coat the internal mechanisms, which eventually leads to a sticky, sluggish appliance.
How to Care for Your Home’s Plumbing
Taking care of your home’s pipes doesn’t require a truck full of specialized tools or years of training. Just paying a little bit of attention to what goes down your drains, exercising your valves, and doing a few quick inspections can prevent the vast majority of common issues. When you catch small problems early, you save yourself the stress of dealing with water damage and expensive emergency calls.
Of course, if you ever spot a major leak, lose water pressure, or encounter a problem you aren’t comfortable tackling on your own, don’t hesitate to reach out to the pros. But for everything else, a proactive approach will keep your water flowing exactly where it should.