Restoring a log home is rarely a quick weekend job. You start Saturday morning fully convinced you will get the entire south-facing wall washed, prepped, and stained before dinner. But the reality of working on heavy timber quickly sets in. By Sunday afternoon, your arms are entirely burned out, the sunlight is fading, and you are only halfway done. You now have hundreds of dollars’ worth of premium log cabin maintenance supplies scattered across your lawn, and you have to go back to your day job on Monday morning.
You cannot just leave expensive stains, caulks, and applicators sitting outside for a week. The elements will destroy your materials long before you have a chance to pick up a brush again. Improper mid-project storage leads to dried-out brushes, ruined buckets of finish, and a massive waste of money. If you have to hit pause on your exterior work, here is exactly how to stage and protect your materials so they are completely ready for you next weekend.
Defeating the Temperature Trap
The absolute fastest way to ruin specialized wood treatments is to leave them outside exposed to extreme temperature swings. Direct afternoon sunlight will literally cook a five-gallon bucket of stain, altering the chemical composition and causing it to dry far too quickly when you eventually apply it to the wood. Conversely, allowing water-based chinking or sealant to sit outside during an unexpected overnight freeze will destroy the elasticity of the product, rendering it entirely useless.
You must physically move your liquids indoors. If you do not have a climate-controlled garage or a secure basement, bring the buckets into a mudroom or a utility closet. The goal is to keep the products in a stable, moderate environment—ideally between fifty and seventy degrees—so the viscosity remains perfectly consistent when you resume your work.
Preserving Open Tubes of Chinking
Applying heavy chinking or caulk to log joints is tedious, and you will inevitably have to stop working while a tube is still half-full. If you just set the caulking gun down on a workbench, the material inside the plastic nozzle will cure and harden into a solid plug within a few hours. When you try to squeeze the trigger next week, the pressure will blow out the back of the tube and create a massive mess.
You have to create an airtight seal at the tip of the nozzle.
- The Nail Method: Find a long, thick galvanized nail or a heavy deck screw and push it directly down into the opening of the nozzle to block the airflow.
- The Tape Method: Wrap the entire nozzle tightly in heavy-duty duct tape, folding the top over to completely cap the opening.
- The Plastic Wrap Trick: Unscrew the nozzle from the tube, place a small square of plastic kitchen wrap directly over the threaded opening of the tube, and tightly screw the nozzle back on over the plastic.
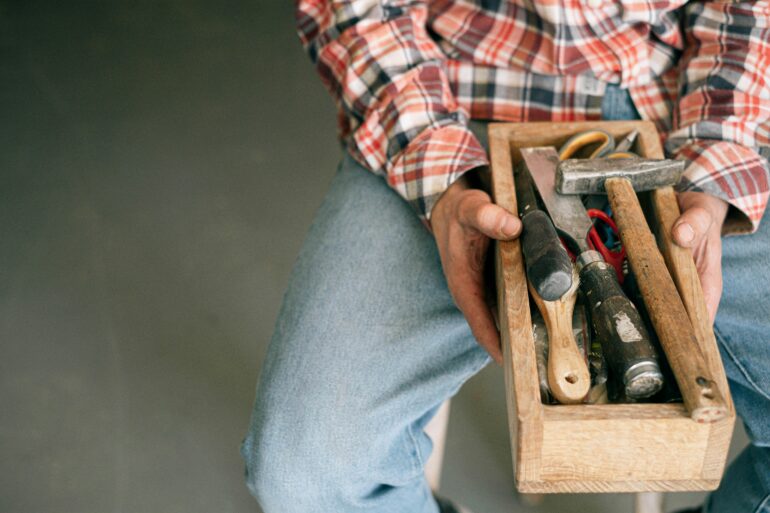
Pausing the Paintbrush
Thoroughly washing a heavy stain out of a wide-bristle brush takes twenty minutes of aggressive scrubbing and wastes a massive amount of mineral spirits or clean water. If you are just pausing your application for a day or two, you do not actually need to clean your brushes and rollers every single night. You just need to stop the air from reaching the wet bristles.
Take your wet brush and wrap the bristles completely in heavy plastic wrap or a thick plastic grocery bag. Squeeze out as much excess air as possible and use a piece of masking tape to tightly seal the plastic around the wooden handle. If you are using latex or water-based products, you can actually place this wrapped brush directly into your kitchen refrigerator. The cold temperature significantly slows down the curing process, keeping the bristles perfectly wet and pliable for several days.
Securing the Five-Gallon Pails
When you are working directly out of a massive bucket of stain, the rim of the pail becomes completely coated in sticky residue. If you just drop the plastic lid back on and pound it down with a rubber mallet, that residue will act like a heavy-duty industrial glue. When you come back next weekend, you will have to practically destroy the lid with a pry bar just to get the bucket open again.
Before you close a bucket for the week, take a damp rag and aggressively wipe down the plastic rim and the threads. You want the contact points to be completely clean. Once the rim is wiped dry, lay a layer of plastic sheeting or a cut-up trash bag over the top of the open bucket, and then hammer the plastic lid down over the sheet. This creates a highly effective secondary gasket that blocks oxygen from curing the top layer of your stain and prevents the lid from permanently welding itself shut.
Mitigating the Oily Rag Fire Hazard
This is the single most critical safety protocol in log home maintenance. If you are applying traditional oil-based stains or using rags soaked in mineral spirits to clean your hands and tools, you are holding a massive fire hazard. As oil-based products begin to dry and cure, they undergo a chemical oxidation process that generates a significant amount of heat. If you toss a crumpled, oil-soaked rag into a plastic trash can or leave it in a pile on your wooden deck, that heat cannot escape. The rag can spontaneously combust and burn your cabin to the ground without a single spark ever being introduced.
You must handle used rags with extreme caution when you pack up for the weekend.
- Flat Drying: Lay the rags completely flat on a concrete driveway or a gravel patch, safely away from any structures or dry grass, and let them cure until they are stiff and completely dry.
- Water Submersion: If you need to dispose of them immediately, place the rags into a metal coffee can or a metal bucket, fill the container entirely with water, and seal it with a tight metal lid before taking it to a hazardous waste disposal site.
Store Your Log Maintenance Supplies Correctly
A log home requires a massive amount of physical labor, and nobody expects you to finish every single exterior project in one continuous push. Hitting pause is just part of the reality of property management. By taking an extra fifteen minutes at the end of your weekend to cap your tubes, wrap your brushes, and safely secure your combustible materials, you protect your expensive inventory. You eliminate the frustration of ruined supplies and guarantee that when you finally have the time to pick the project back up, your tools are completely ready to work.